1. Manual installation
1.1 Upload files to the server
- Extract a magetrend_extension-name-x.x.x.zip archive
- Login to web server via FTP client and go to your magento directory.
- Create a directory: app/code/Magetrend/ModuleName
ModuleName has to be replaced to actual module name of extension. You can find a module name in registration.php file which is in .zip package.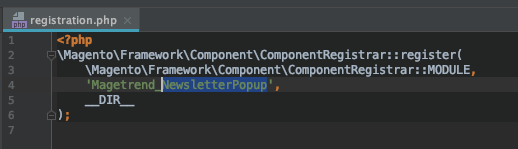
As per this example, module name would be NewsletterPopup and the files should be uploaded to app/code/Magetrend/NewsletterPopup - Upload all extracted files to extension directory.
1.2 Enable extension
- Login to a server via ssh client
- Go to Magento home directory
- Run the following ssh commands:
php -f bin/magento setup:upgrade;
php -f bin/magento setup:di:compile;
php -f bin/magento setup:static-content:deploy;
2. Installation via Web Setup Wizard
2.1 Uploading files to the server
- Extract the magetrend_extension-name-x.x.x.zip archive
- Login to web server via FTP client and go to your magento directory.
- Upload all extracted files to the server.
There are no need to change/overwrite any existing files.
2.2 Web Setup Wizard
First of all you have to login to magento2 admin panel and go to:
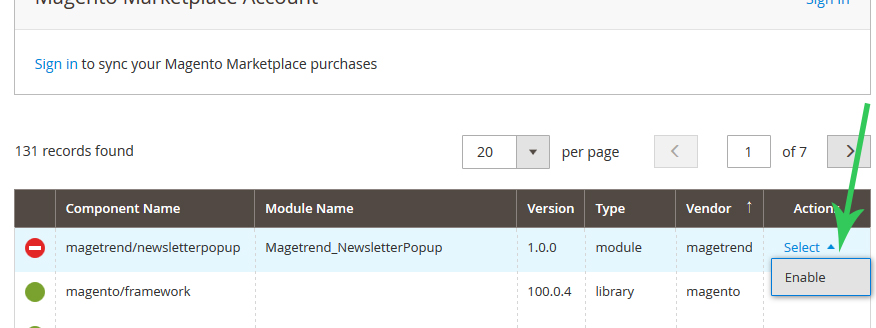
System >> Web Setup Wizard >> Component Manager
Here you will see all available extensions. Please find the extension which you want to intall and click on "Enable" link.
2.3 Start Readiness Check
Press "Start Readiness Check" and wait until it will finish and press "Next" button.

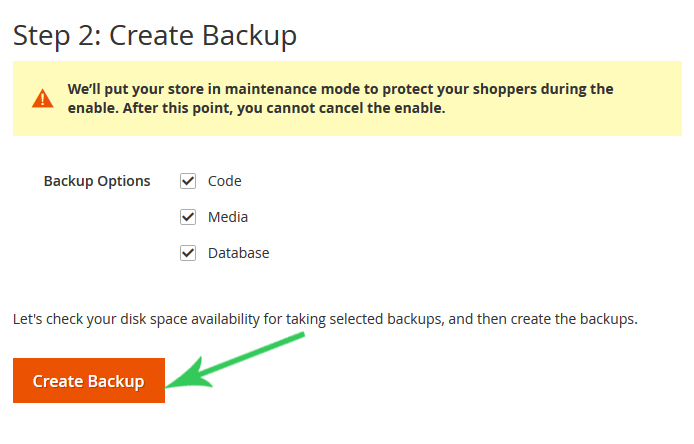
2.4 Create backup
We have recommended you to create a backup. Press "Create Backup" button and when it will be ready, press "Next" button.
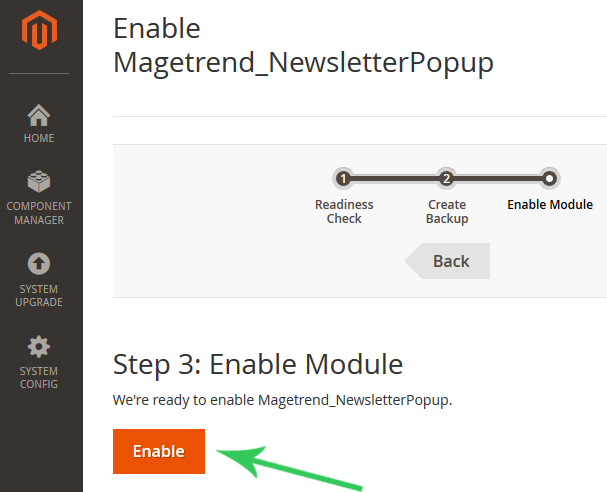
2.5 Enable extension
Finally last step! Press the button "Enable".